
by Jim Miotke
Anywhere you go, you're likely to fall in love with waterfalls. Often, I go back to the same sites to shoot the same waterfalls I might have shot years ago. My techniques keep getting better, and sometimes, weather conditions are better one year from the other years.
Here are some things I keep in mind when photographing waterfalls:
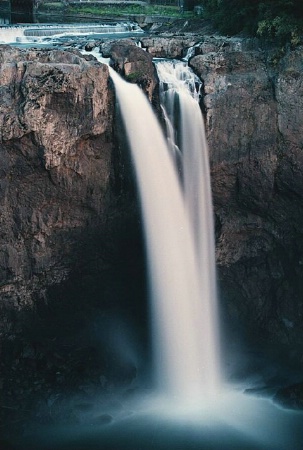
Like shooting colorful foliage in autumn or wildflowers in spring, the best lighting is overcast, especially in between rain storms. In fact, the dimmer and darker (and more diffused) the lighting, the better. It allows you to slow down your shutter speed so you can get the dreamy "cotton candy" look.
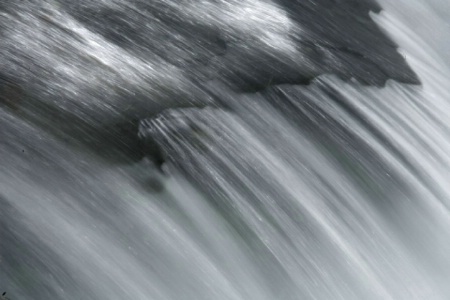
To get that smooth flowing look to your waterfall scene, you need to shoot at a shutter speed. This will allow the subject to blur. (Yes, blur too can be a Good Thing). Think 1 to 1.6 seconds; sometimes longer.
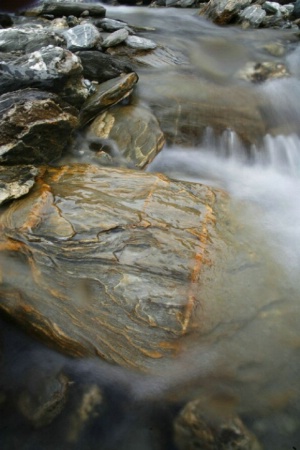
To make sure you don't overexpose the subject at such slow shutter speeds, you’ll need to set your f stop number as high as it can go... f/16, f/22, etc. A nice side benefit is great depth of field; you’ll likely get the entire scene - including foreground and background - in focus. If the lighting is too bright to bring your shutter speed down to 1 to 1.6 seconds or longer, use a neutral density filter or a polarizing filter to block some of the sunlight.
ND Filter: A neutral density (ND) filter is the best way to go and I recommend the Vari-D filter as it allows you to adjust how much light you are blocking. A polarizer can also help and is a great choice if you're on a budget - you can two great filters in one!
At such slow shutter speeds, using a good tripod is required. You may be able to get by with setting your camera on a rock or attaching it to a tree branch with a special grip, but that is so much more of a hassle, and limits you in your point of view. Better to use a solid tripod. Either way, you’ll also need to also use a remote shutter release. This device allows you to photograph without touching the camera and thus eliminates any vibration introduced to your camera when your finger presses down on the shutter button. It makes a big difference in your ability to consistently get sharp images. If you don’t have a remote shutter release, use your camera's self-timer. This will accomplish the same effect as using a remote shutter release; it's just one more thing to do (and be patient about). With this feature, you press the shutter, and the camera doesn’t take the photo for a pre-set number of seconds. 5 seconds will allow for any vibrations to cease when pressing the shutter button, and take less patience than 10 seconds :-)
My final tip: If you can, try to learn as much about the waterfall scene before you visit. See if you can learn the best lighting conditions and times of day for the subject. Then when you arrive, familiarize yourself with the scene, confirm what you've learned, and look for unique ways to compose your photos.

To learn more about photography, explore the photography classes offered here at BetterPhoto.